
The Real Estate menu displays property information to the visitors and facilitates real estate business owners to showcase their property details. It offers purpose-oriented design with useful features that a real estate business can benefit from. This menu provides functions including several real estate items such as image gallery, property info, and contact info.
How to work with the Real Estate menu plugin?
1. Click on the “+” icon (A key) to open the Plugin Manager for Hotspots, Menus, Maps, Control Center, and Other. Then click Real Estate under the Menu to open its menu settings.
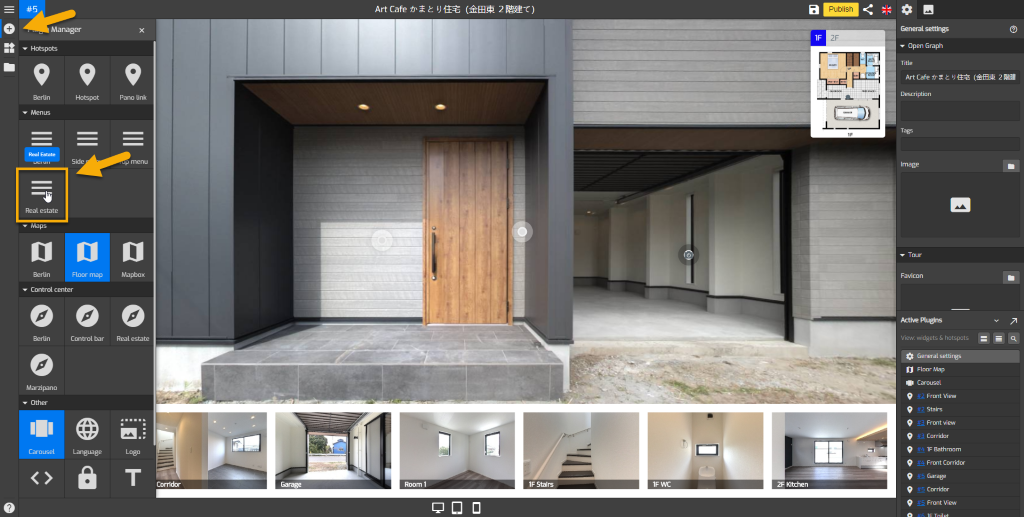
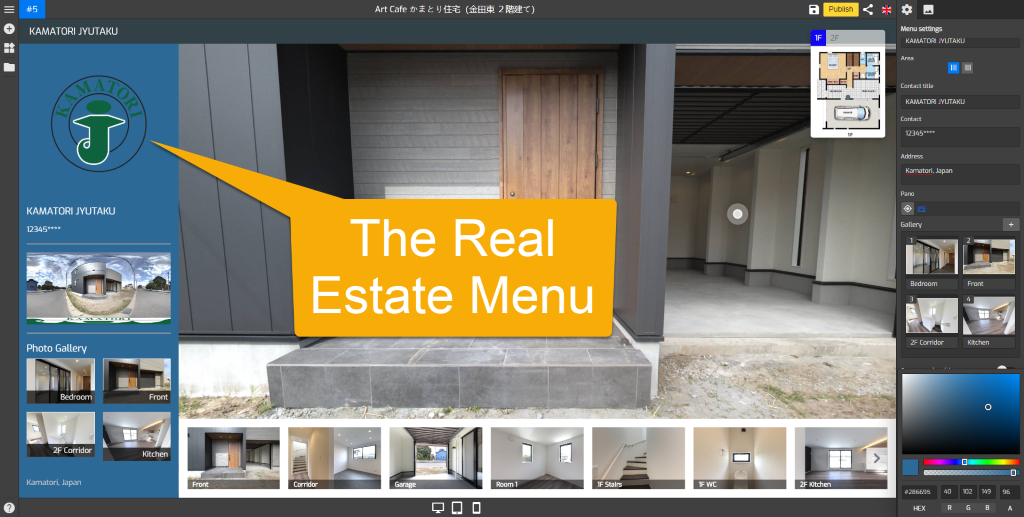
2. The default Real Estate menu appears on the left side and the menu settings on the right panel where you can configure the menu setups and add items to the menu.

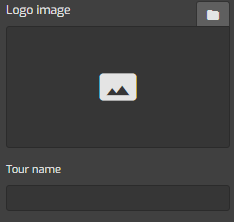
3. Give a title to the tour, then put the logo of your business to the menu. Click on the logo image and it will open up the asset manager where you can upload or choose an image that’s already there.
4. Select the area for the menu position, set it to the left or right side of your overlay screen. Defaults to the 'left side'.

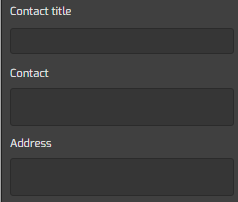
5. Fill in the contact information including the contact title, contact, and address.
6. Select the first pano that will be the starting point of the virtual tour and displayed on the menu like in the example below.

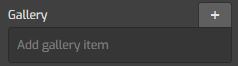
7. Add an image to the photo gallery to showcase the property details. This image will be displayed in the menu and can be played as an image slideshow within the tour. To add an image to the menu, navigate to the gallery menu then click on the “+” button to open the asset manager. You can upload a new image, or select one that’s already in your asset manager.

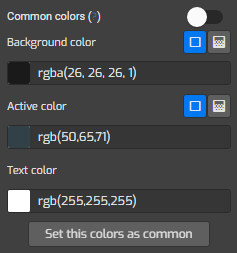
8. Adjust the colors of the menu using color options under the menu settings. Common color sets the menu colors to connect the colors in the general setting. Background color sets the color of the menu background. Active color can be used to change the colors of the active menu. Text color sets the colors of the text in the menu. Set this color as common is to set the color which belongs to the real estate menu plugin and determines the default colors choices for other plugins.
9. Now you have a fancy Real Estate menu on your virtual tour. Once you are happy with your menu setups, just click “save” and “publish” to see the results.
Available Menu setting tools
Agent info: loads and saves the contact info.
Logo image: adds a company or business logo image to the menu.
Tour name: includes a title for the menu.
Area: sets the position where the menu is attached.
Contact Title: includes the name used to identify the business contact.
Contact: includes contacts such as telephone, fax, or email of the business.
Address: includes the road name and street number allocated to the property.
Pano: sets the first pano where the visitors arrive and will be displayed on the menu.
Gallery: adds an image to the photo gallery displayed on the menu.
Common colors: sets the menu colors to connect the colors in the general setting.
Background color: sets the color of the menu background.
Active color: sets the colors of the active menu
Text Color: sets the colors of the text in the menu.
Set this color as common: set the color which belongs to the real estate menu plugin and determines the default colors choices for other plugins.

