Pano Label is another attribute that can be added to your overlay. This plugin is used to provide a title that is clickable and shown over the panorama. Pano label is also used to improve the navigation and tell the visitors information about what they are exploring within a virtual tour.
How to set up a pano label?
Following are the steps to add a pano label to your overlay:
1. Click on the “+” icon (A key) to open the Plugin Manager for Hotspots, Menus, Maps, Control Center, and Other. Then click on Pano Label under the Other plugin option.
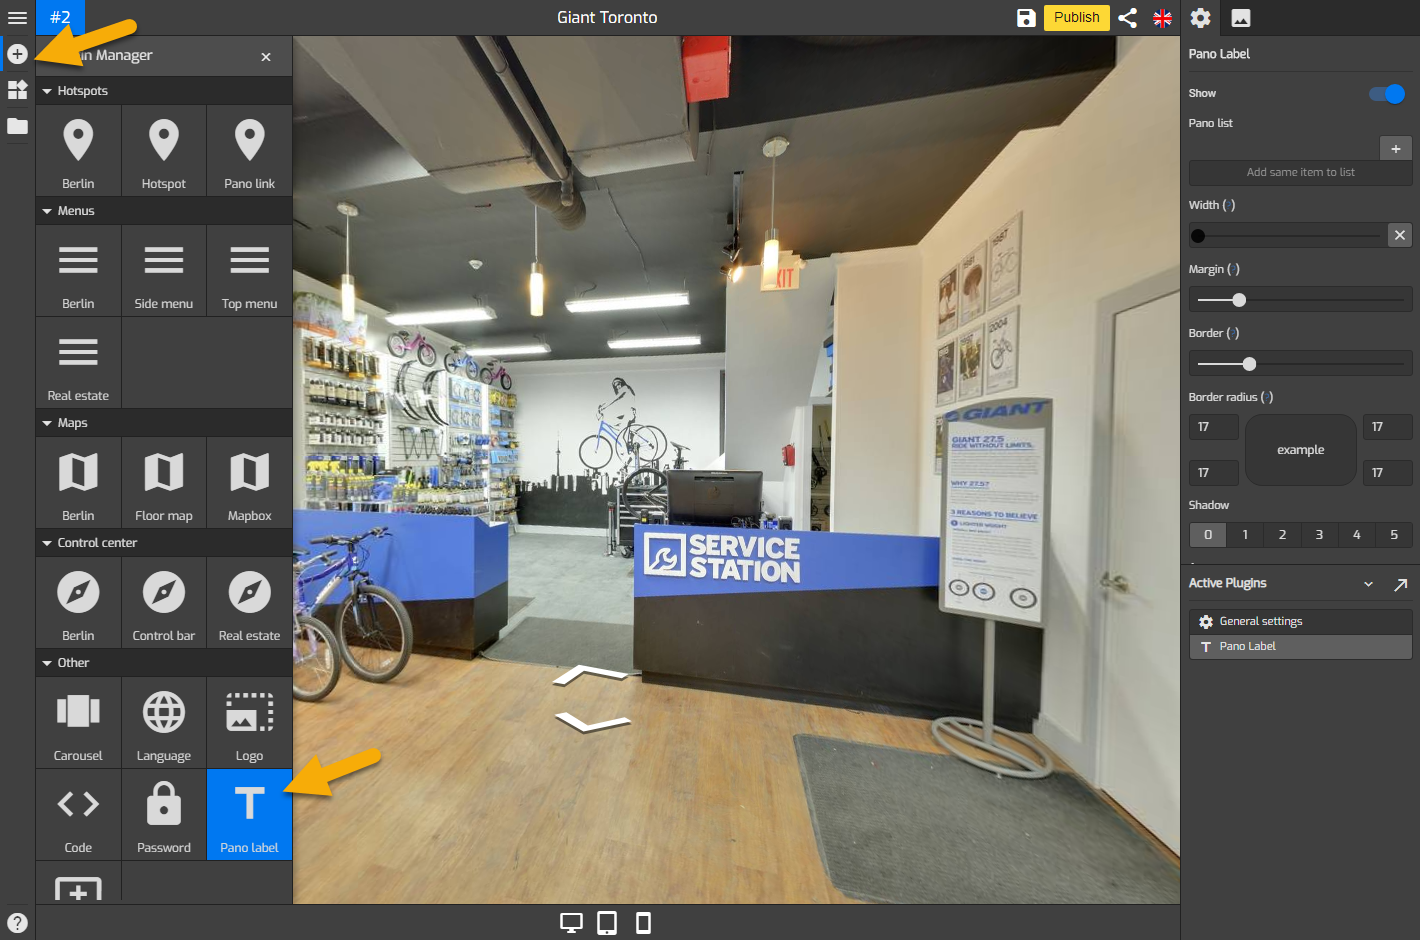
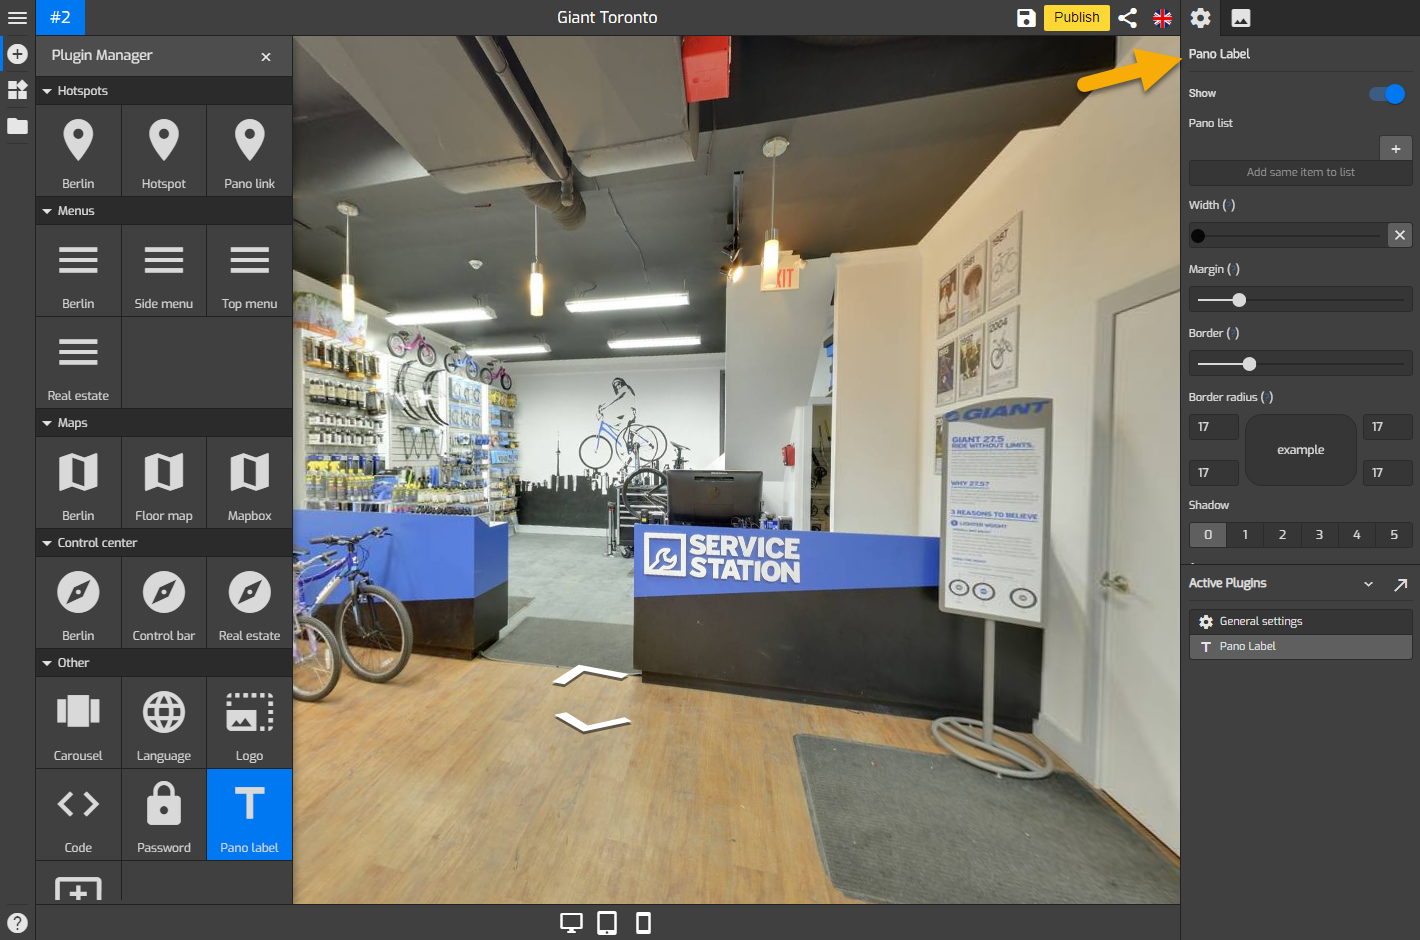
2. Drop-down menu appears on the right side of your overlay screen.
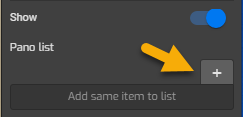
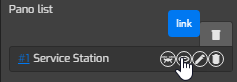
3. Select the pano you want to label and click “+” on the Pano list to add a pano label. Enter the desired label in the field and repeat this step to add pano labels to other panoramas.
4. You can also link a website URL to your pano label. Click on the “link” button and enter a website URL that will connect to the pano label.
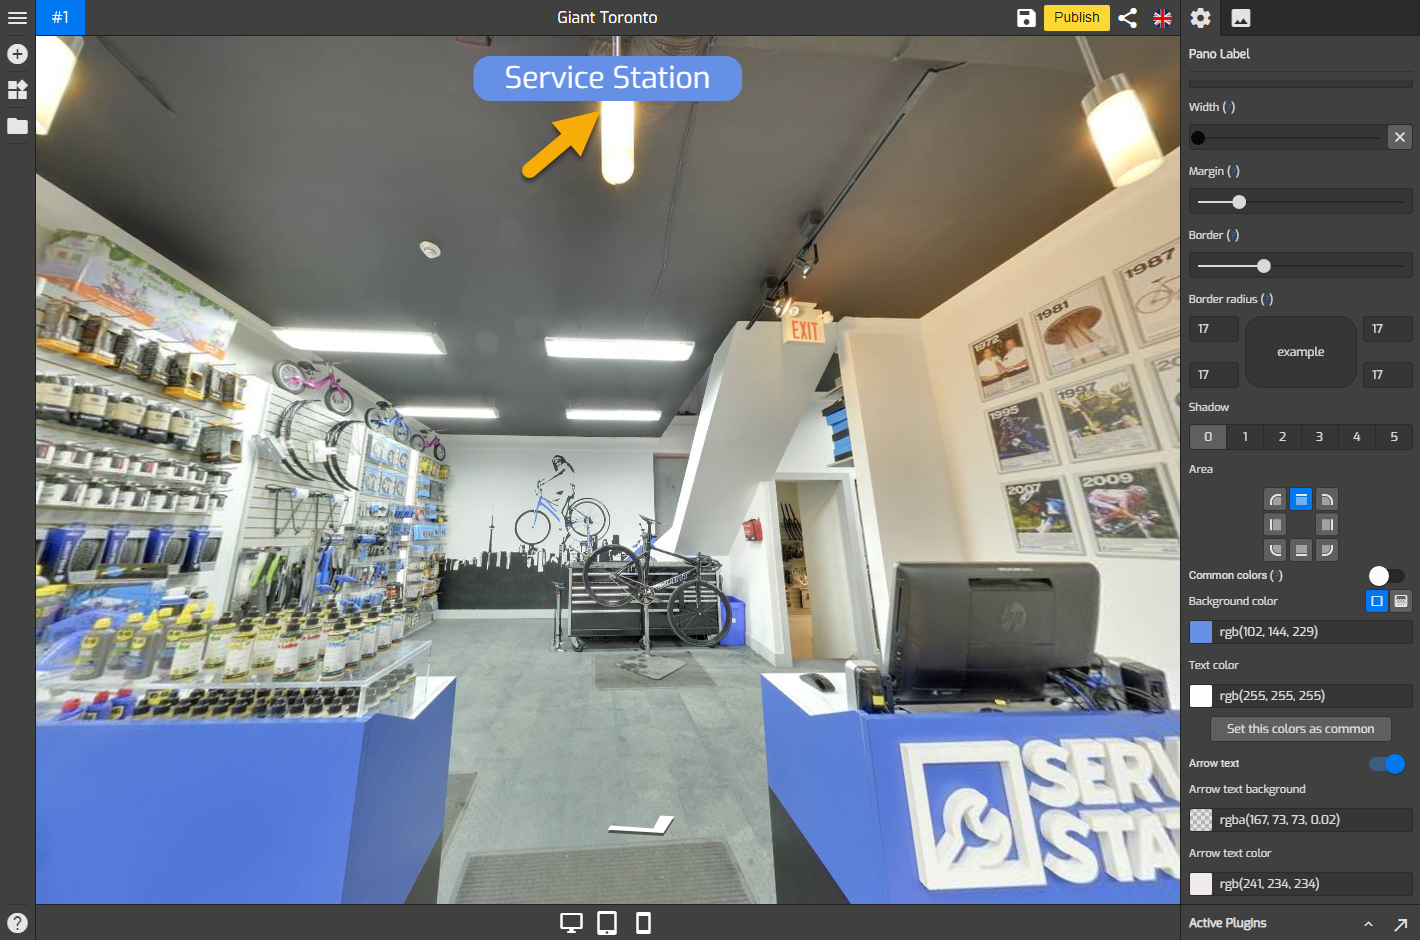
5. Make the desired changes to your label`s design so it can fit the entire constellation properly. The Following are the details of the tools on Pano Label setting.
Show: sets pano label to “show” or “hide”.
Pano List: adds a pano label to the active pano.
Width: adjusts the size of pano label.
Margin: adjusts the distance between pano label and the tour edges.
Border: sets the space between pano label text and background outer edge
Border Radius: rounds the corners of label`s outer border edge.
Shadow: gives shadow effect to pano label.
Area: changes the position where the pano label is attached.
Common colors: sets pano label colors connect to colors which in the general setting.
Background color: sets the color of the pano label background.
Text color: sets the colors of the label`s text
Set this color as common: sets the color which belongs to the Pano label plugin and determines the default colors choices for other plugins.
Arrow Text: sets arrow text to “show” or “hide”.
Arrow Text Background: sets the color of arrow text background.
6. Now you have fancy and clickable labels on your overlay. Once you are happy with your label setting, just click “Save” and “Publish” to see the results.