
Mapbox
One type of map you can add to your overlay is Mapbox. This map shows the satellite view of the constellation based on CID or addresses you input in the constellation on GoThru Moderator. With Mapbox, visitors can simply go point to point on the map and zoom in and out easily using the panel on the map or scroll wheel. Mapbox is best for the constellation that is very accessible on google maps such as restaurants, car dealerships, stores, and other businesses.
How to work with Mapbox on Gothru Overlay?
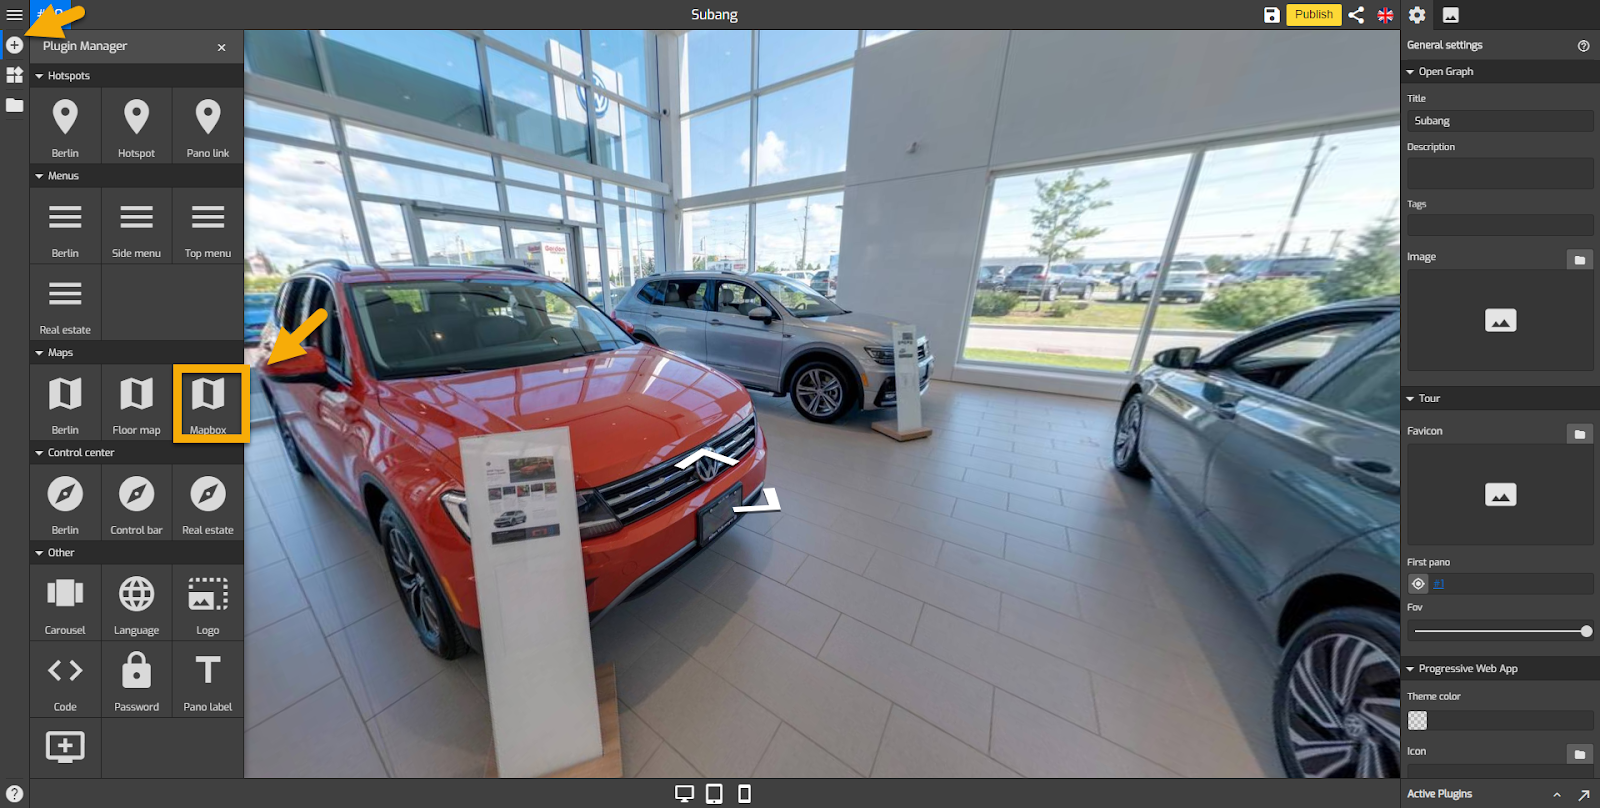
1. Click on the “+” button (A key) to open the Plugin Manager for Hotspots, Menus, Maps, Control Center, and Other. Select Mapbox to add the map to your virtual tour.
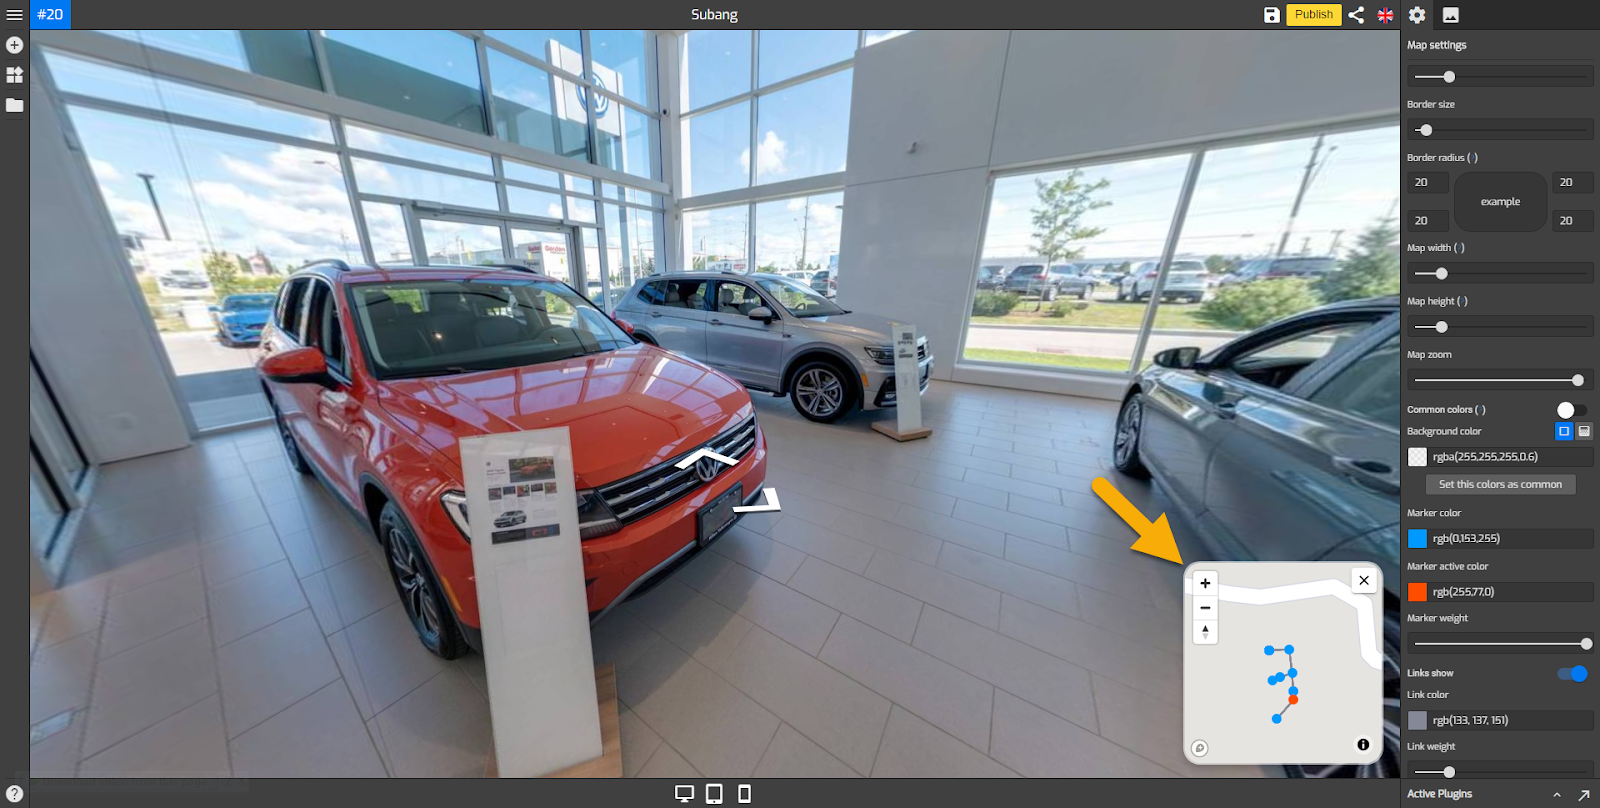
2. The default Mapbox appears on the top right corner and the active plugin settings on the right panel. Make the desired changes to your map design using the tools under the map settings. For information about the tools under map settings, see “Available map setting tools” below.
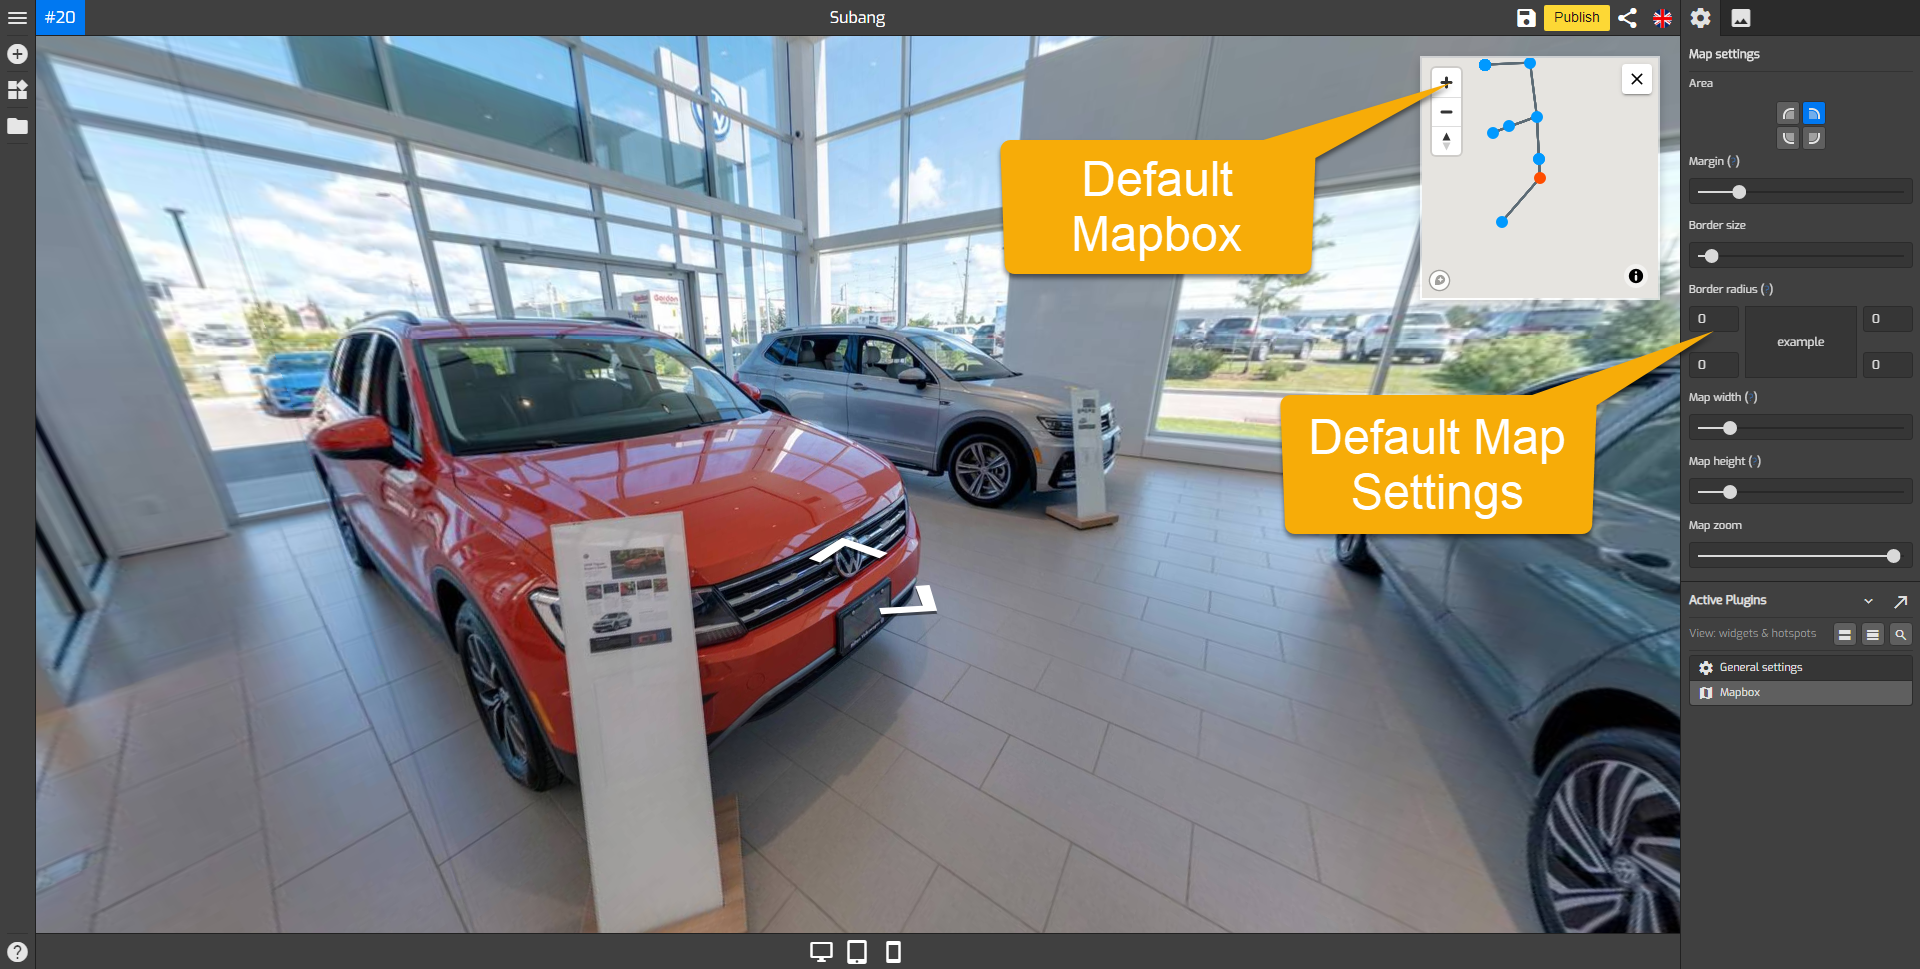
3. Choose the position of the map - the top right corner, bottom right corner, top left corner, or bottom left corner.
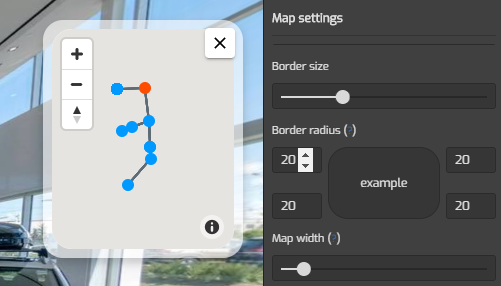
4. Increase the value of the border radius field to make a rounded corner. GoThru Overlay Border Radius will automatically adjust all 4 corners at once if you click the up arrow in the border radius fields.
5. Adjust the Mapbox size using the map size settings such as map width and height so it can fit the entire constellation properly.
6. Adjust the Map Zoom. This function is unique to the Mapbox only and allows you to choose zoom level of the default first view.
7. Change the map colors so it can fit the virtual tour properly. Common color sets the map colors to connect the colors in the general setting. Background color sets the color of the map background. You can also change the color of markers using the Marker color tool. Marker active color can be used to change the colors of the active marker.
8. Now you have a responsive Mapbox on your virtual tour. Once you are happy with the map settings, click “save” and “publish” to see the results.
Available map setting tools
The following are the tools under map settings to create a fancy and responsive map.
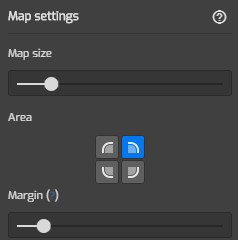
Map Size
It’s a feature to adjust the size of the map on your overlay, slide the bar to the right to make the size bigger and vice versa
Area
The position of the map on the screen both in the overlay and in the published tour screen. You can choose the top right corner, bottom right corner, top left corner, and bottom left corner of your screen.
Margin
Margin is the distance between your Map to the end corner of the screen, adjust the margin to make the design of your overlay more interesting, and match the design of the Side Menu.
Border
The border is space between your Map and the background
Border Radius
The border radius is the roundness of the map background corner. Increase the value in each field to make a rounded corner. GoThru Overlay Border Radius will automatically adjust all 4 corners at once if you click on the up arrow shown on the field in border radius. To adjust one specific corner manually click on the respected field and enter the desired number
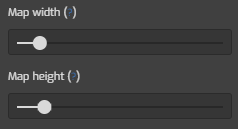
Map Width & Map Height
Adjust the width and the height of your map, tips: adjust the overall size of the map to a point where you can fit the entire constellation properly.
Map Zoom
This function unique to the Map box only, which allows you to choose the zoom level of the map to be the default first view of the map
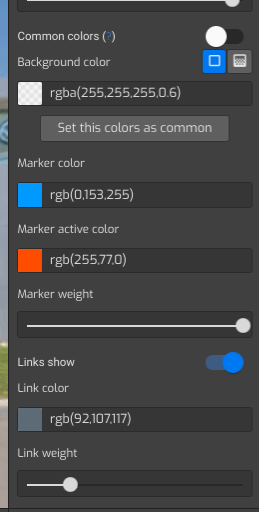
Colors
The Map Box uses color settings which can set the colors in the same way as other map options. Common color sets the map colors to connect the colors in the general setting. Background color sets the color of the map background. You can also change the color of markers using the Marker color tool. Marker active color can be used to change the colors of the active marker.
Link
It sets the marker connectors to be displayed or hidden on the Map Box. Defaults to 'Show Links'.

