Pano Link allows you to join the previous and next panoramas in one tour using a hotspot so at the end your tour visitors can easily move from one room to another only by clicking the hotspot.
This tutorial will focus on the steps how to link a hotspot to the next and previous pano using the pano link plugin. Follow the following steps to nail it.
Step 1: Add and set up the pano link
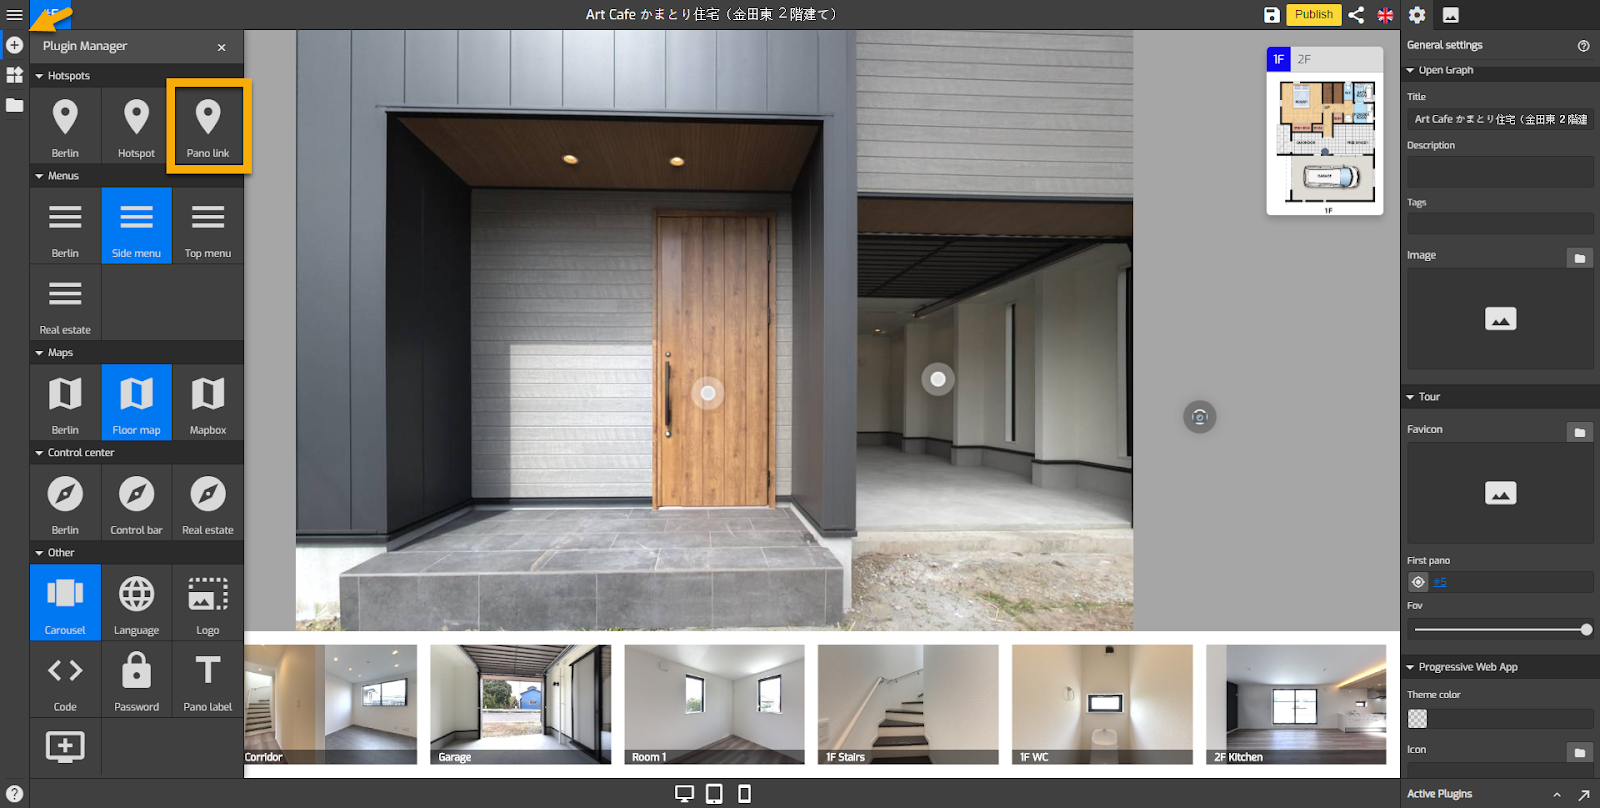
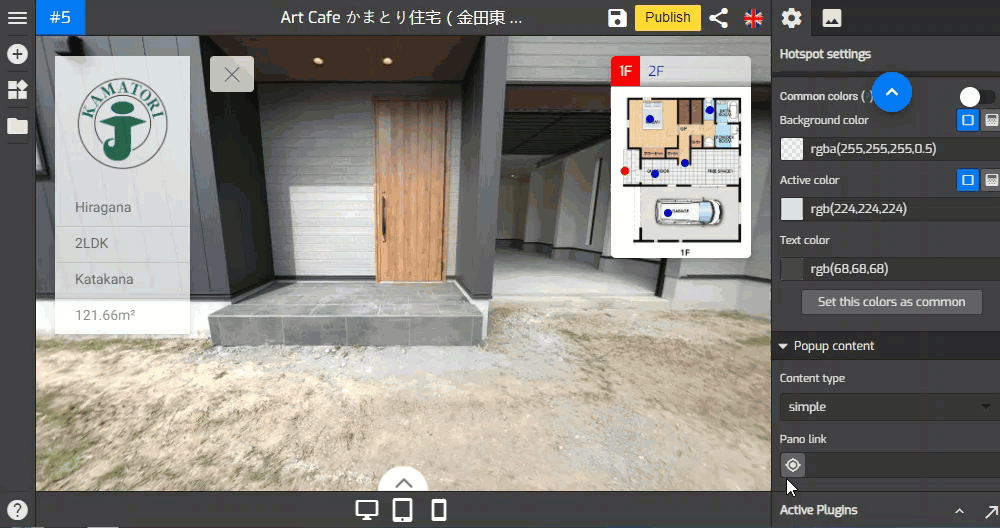
1. Click the “+” button (A key) on the plug-in manager on the top left corner of your Overlay editor screen and select the Pano link hotspot.
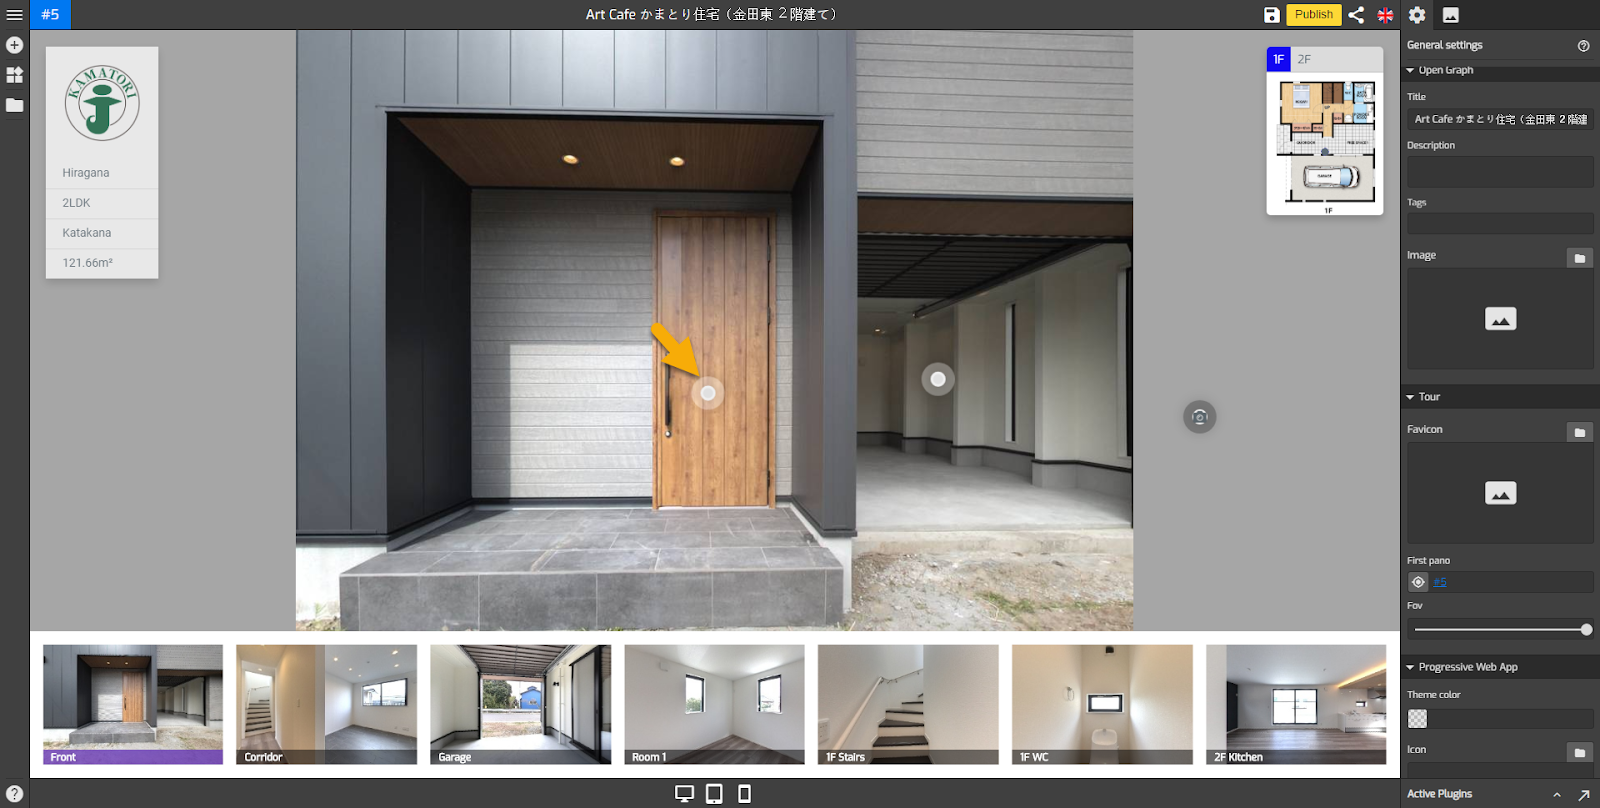
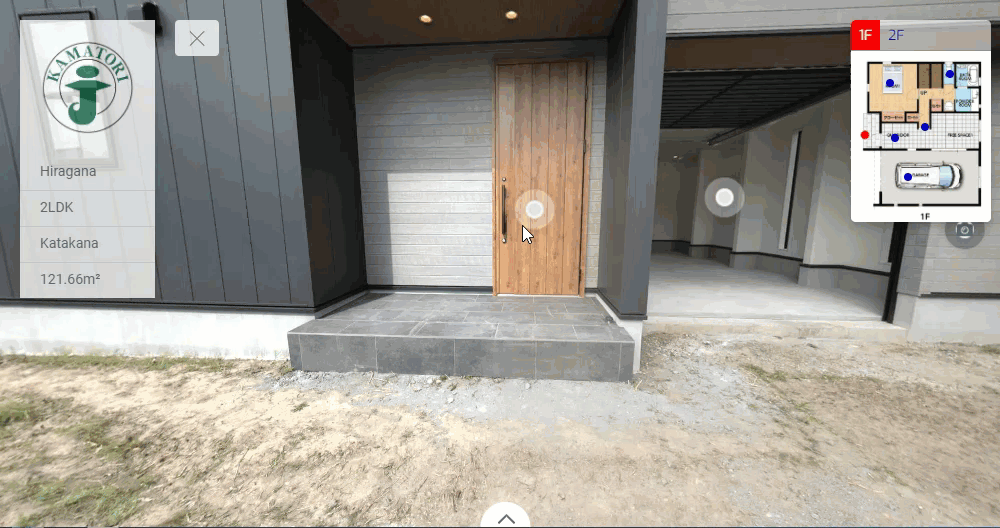
2. You will find the hotspot settings on the right panel and a round white marker (hotspot icon) that appears exactly in the middle of the active panorama. Click and drag the hotspot icon to adjust its position.
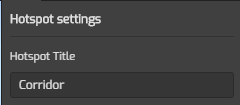
3. Under the hotspot settings, enter the hotspot in the hotspot title field.
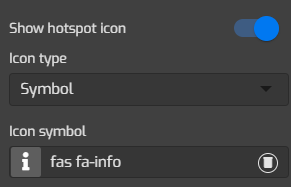
4. Change the hotspot symbol using your own SVG image or Overlay icons. You can select more than 3000 icon symbols available or use a custom SVG image by uploading one.
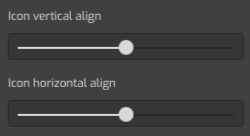
5. Adjust the icon alignment using vertical and horizontal alignment sliders.
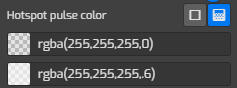
6. Set the hotspot pulse colors using its color picker, you can use overlay`s native or gradient colors.
Step 2: Add content and connect pano link to panoramas
1. Go to the Popup Content section at the lower part of the hotspot settings.
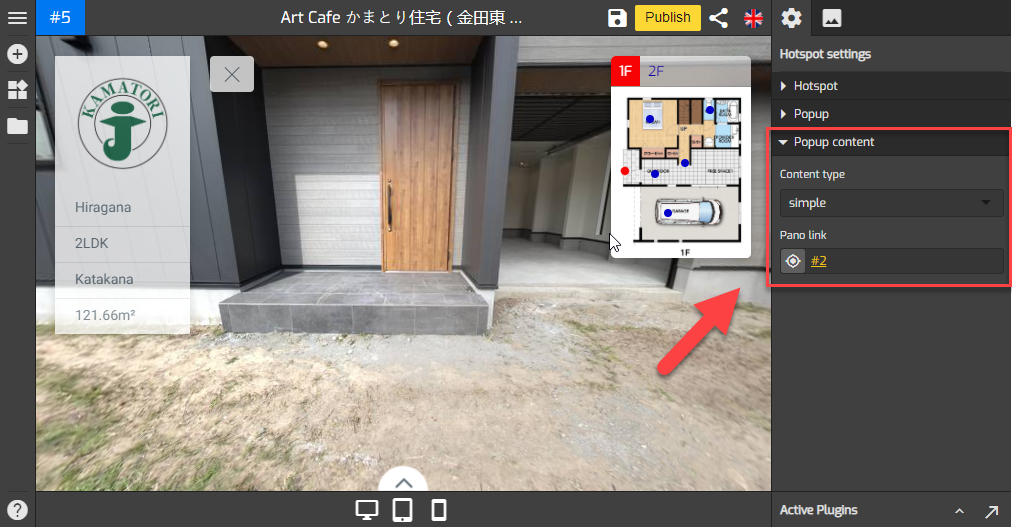
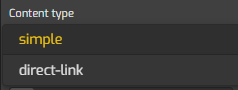
2. Click on the content type to open the content type selection for the pano link. There are two content options - Simple and Direct-link.
3. If you want to connect the next panorama to the pano link, select the simple content type.
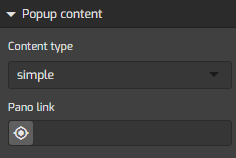
4. Under the content type, you see `choose this pano` button that will be used to connect the panoramas to the pano link.
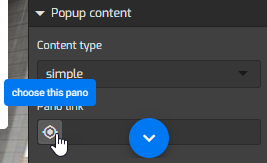
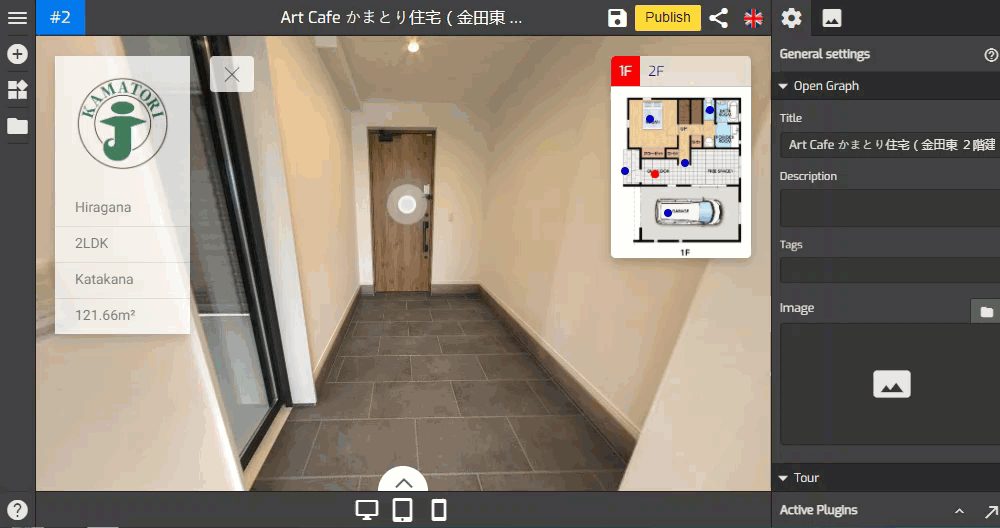
5. Press choose this pano to open pano list then select the next panorama from there. In the following example pano number #2 is the next panorama and added to the content type.
6. Overlay editor will connect the selected panorama to the pano link, so when the pano link is clicked it will bring you to the next panorama which is pano number #2.
7. Repeat the steps above to add more pano links and connect them to the panoramas from the pano list as shown in the following example.
Step 3: Save & Publish
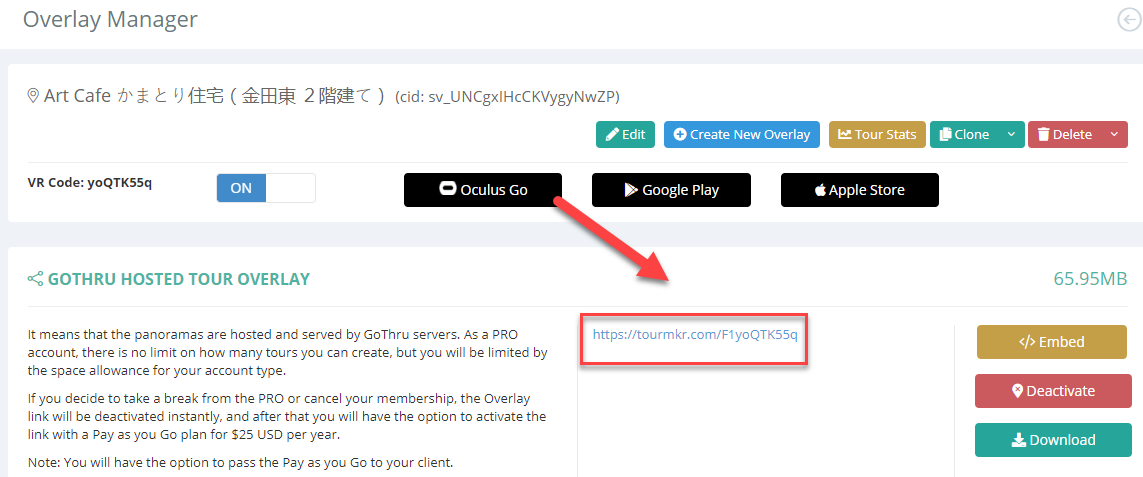
After you add pano links and connect all of them to panoramas, now you can save and publish the tour. The overlay editor will apply the pano links to the tour, to see if the pano links are set up properly you can try it on by clicking the tourmkr link on the Overlay Manager screen.