In this tutorial you will learn the steps on how to link a hotspot to an external URL using the pano link plugin. Follow the following steps to perform this operation.
Step 1: Add and set up the pano link
1. Click the “+” button (A key) on the plug-in manager on the top left corner of your Overlay editor screen and select the Pano link hotspot.

2. You will find the hotspot settings on the right panel and a round white marker (hotspot icon) that appears exactly in the middle of the active panorama. Click and drag the representative icon to adjust the position of the hotspot.

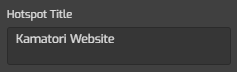
3. Under the hotspot settings, give a title to the new hotspot using the hotspot title field, enter the title in the field.
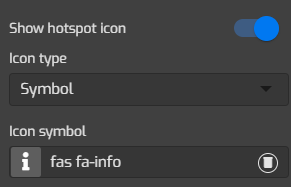
4. Change the hotspot symbol using your own SVG image or Overlay Icon.
5. Adjust the icon alignment using vertical and horizontal alignment sliders.

Step 2: Add content and connect pano link to the website URL
1. Go to the Popup Content section at the lower part of the hotspot settings.
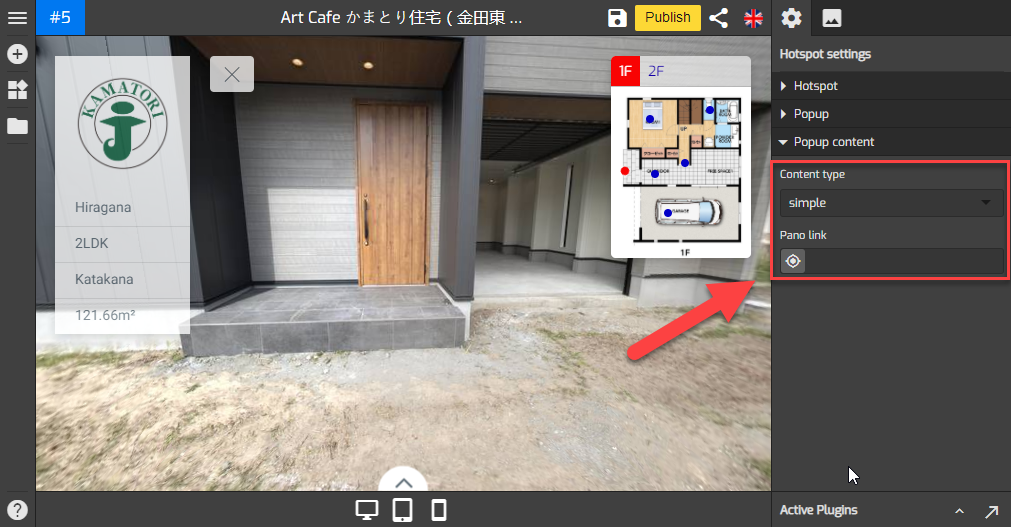
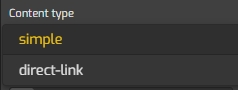
2. Click on the content type to open the content type selection for the pano link. There are two content options - Simple and Direct-link.
3. If you want to connect an external URL to the pano link, select the direct-link content type.
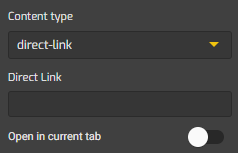
4. Under this content type, you see the `direct link` field where you can enter an external URL.

5. Enter your business webpage URL in the field and set it to open in the current tab or a new tab by switching the toggle.
Step 3: Save & Publish
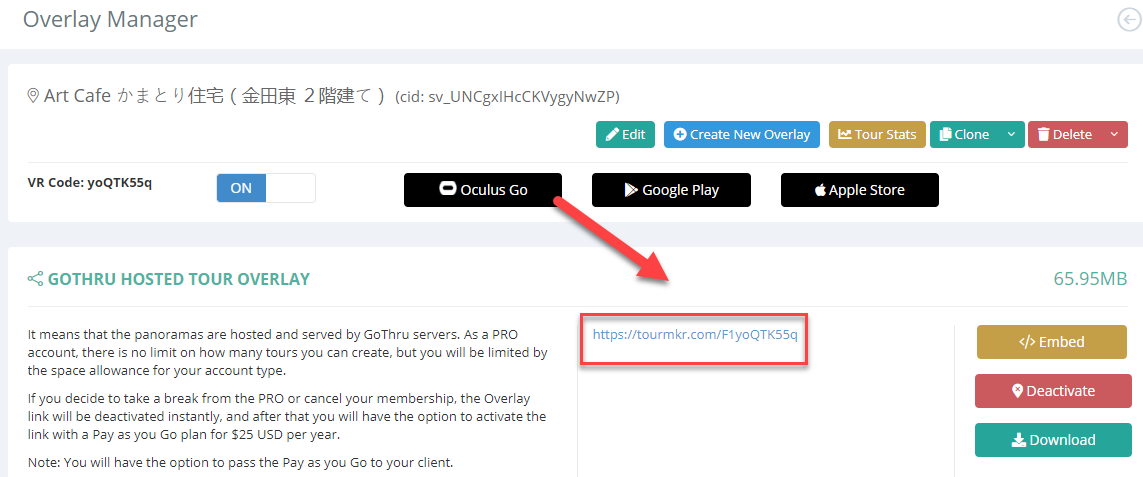
After you add the pano link and connect it to an external URL, now you can save and publish the tour. The overlay editor will apply the pano link to the tour, to see if the pano link and the URL are connected properly you can try it on by clicking the tourmkr link on the Overlay Manager screen.