
Extending the previous article about how to change the hotspot icon in the hotspot plugin, now you are going to look at how to change the hotspot icon using a custom image. This custom image is not only put in the centre of the hotspot icon but replaces the entire hotspot icon.
The following tutorial will show you how to change the hotspot Icon with a custom image.
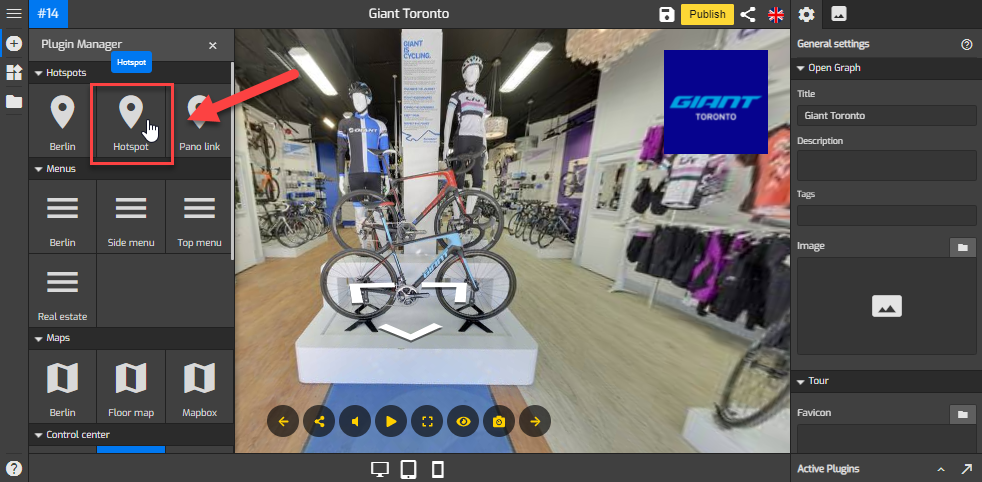
1. First, add a hotspot to the overlay. Go to the Plugin Manager on the left and click on the “+” icon then select hotspot.
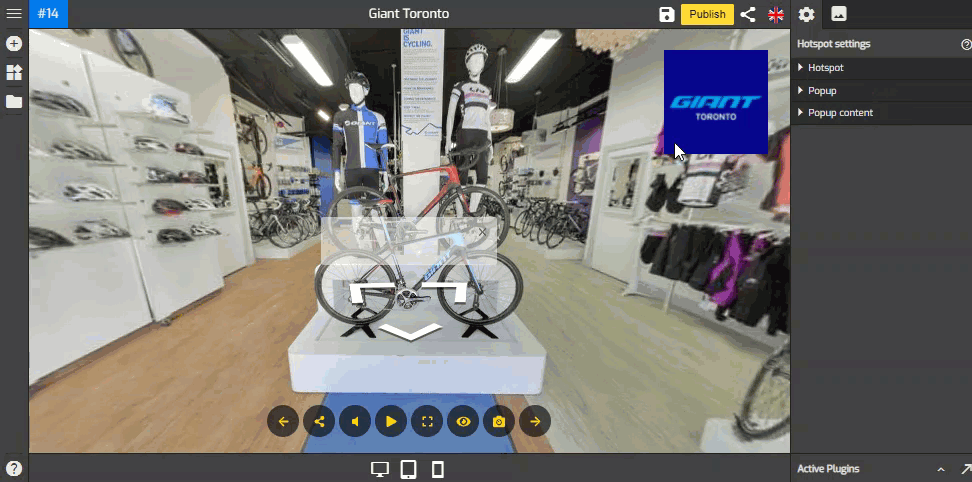
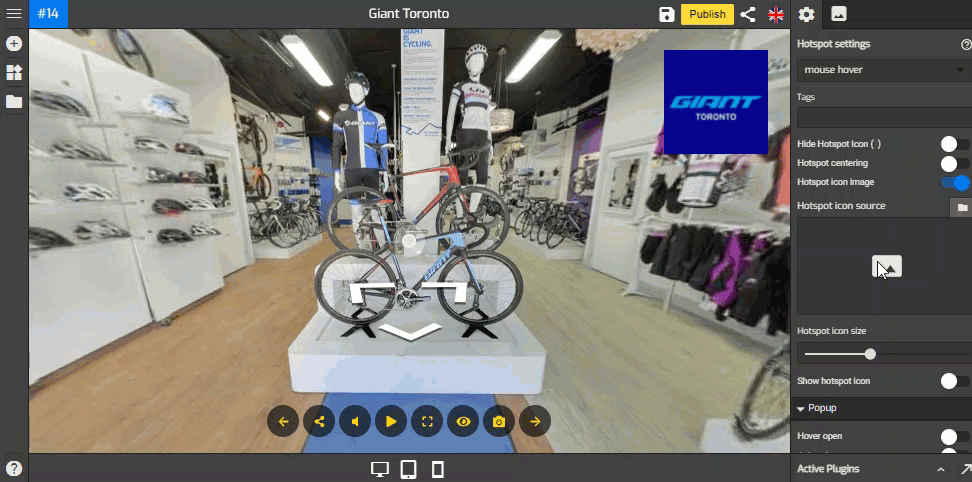
2. Click on the hotspot icon to open up its settings on the right side. The settings have three sections - hotspot, popup and popup content.
3. To change the icon, navigate to the Hotspot section.
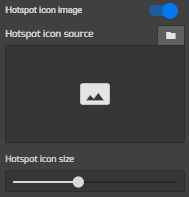
4. Under the hotspot section, you can navigate to the Hotspot Icon Image and switch on the toggle.

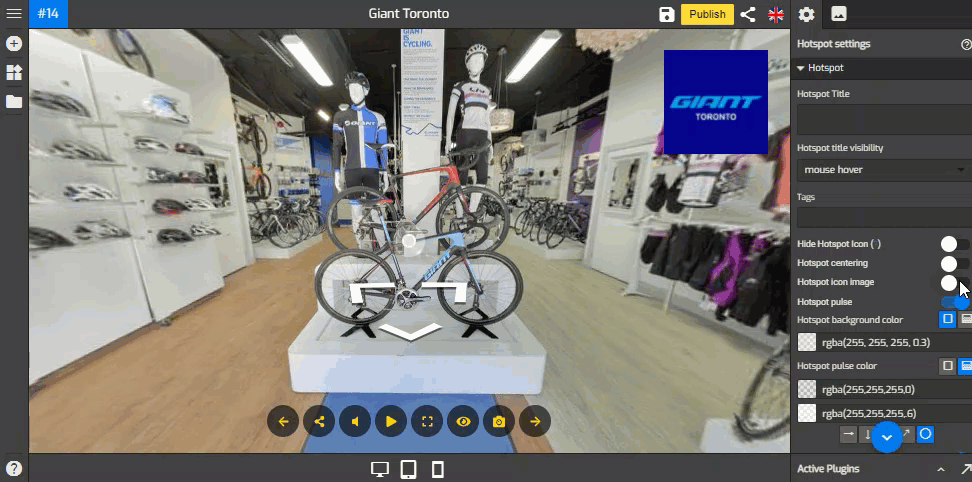
5. Once you switch on the toggle, it will open the icon menu - hotspot icon source and hotspot icon size.
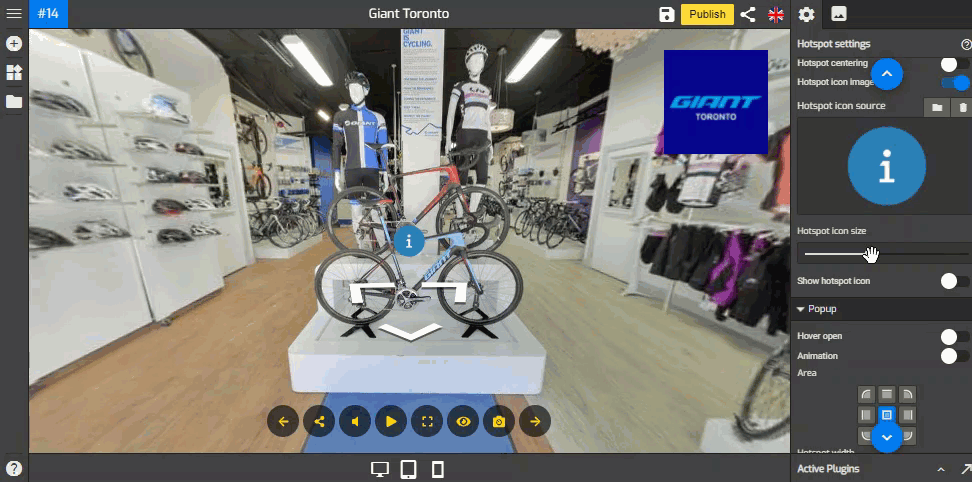
6. Click on the Hotspot Icon Source to upload a new image or select one that’s already in your Asset Manager. Once you select an image, it will replace the entire default icon and deactivate the pulse effect of the hotspot as shown in the example below.
7. To adjust the size of the hotspot icon, you can use the Hotspot Icon Size slider.
8. Repeat the steps above to change other hotspot icons with custom images. Once you are happy with the icon image, press Save and Publish to apply the changes to the hotspot and the hotspot is now ready to be filled with the popup contents.

