
This tutorial shows you how to insert a background audio that will be equipped with mute/unmute button and played automatically when you visit your virtual tour.
To have this autoplay function, you need to combine the sound button and the splash screen media that starts when opening a tour. Initially the background audio is paused or muted, then as soon as the splash screen is clicked the audio will start playing.
In order to insert the autoplay background audio to your tour using sound button and splash screen combo, you should perform the following steps.
Step 1: Set up the sound button
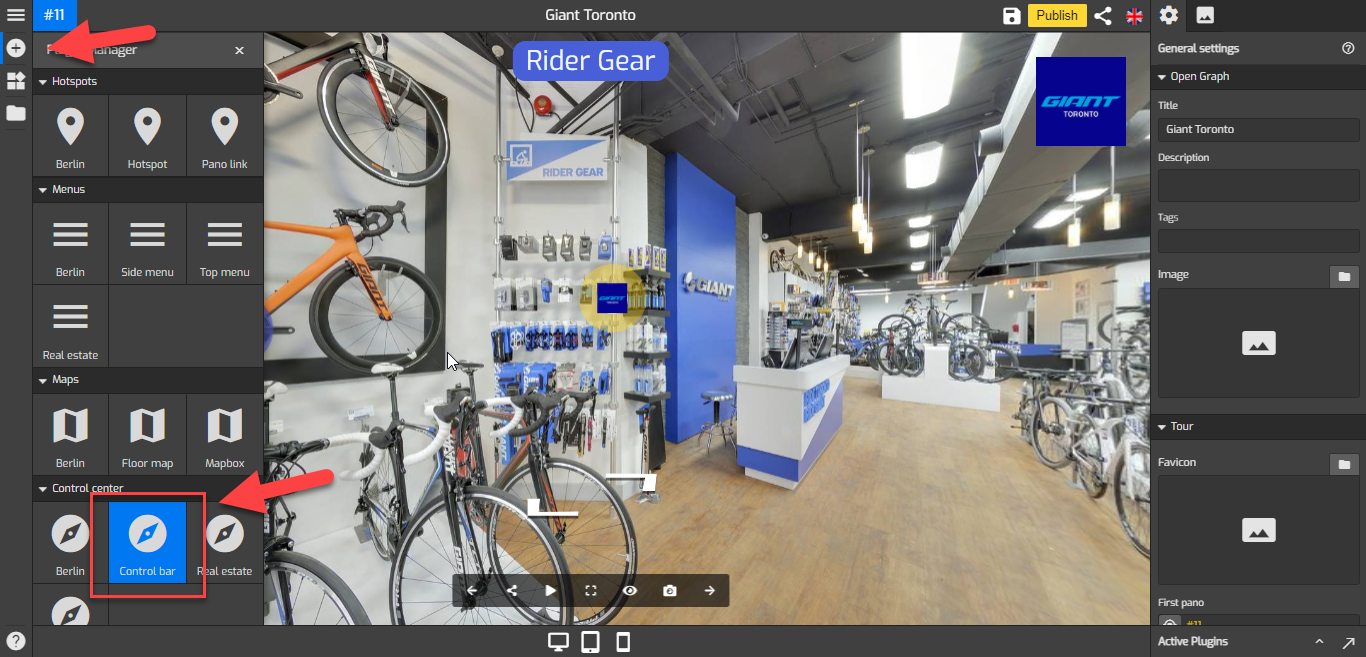
1. Click on the “+” button to open the Plugin Manager for Hotspots, Menus, Maps, Control Center, and Other. Then select Control Bar.
2. Go to Control Settings on the right panel and navigate to the audio button section under the control settings.
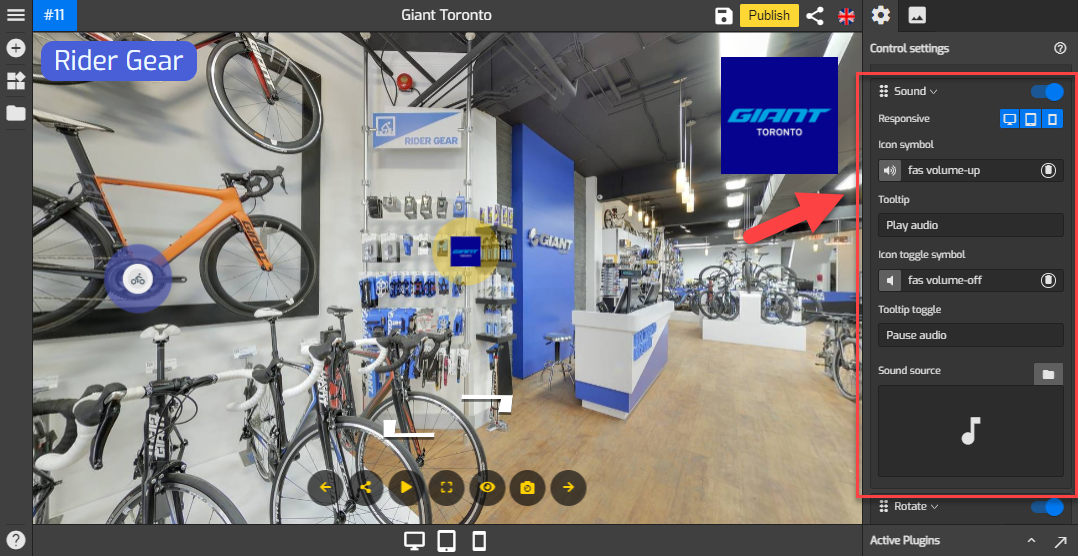
3. Click “Sound Source” to open the Asset Manager where you can upload an audio from your device, or select one that’s already in your Asset Manager. Note: there can only be one background audio with automatic playback per tour.

4. You will notice the audio button on the control bar that allows you to mute or unmute the background audio.

5. Note that this way of inserting sound will only allow viewers to play the audio when the sound button is clicked. To activate the autoplay, you need to use the sound button and splash screen together.
Step 2: Set up the splash screen
The following are the steps to set up the splash screen.
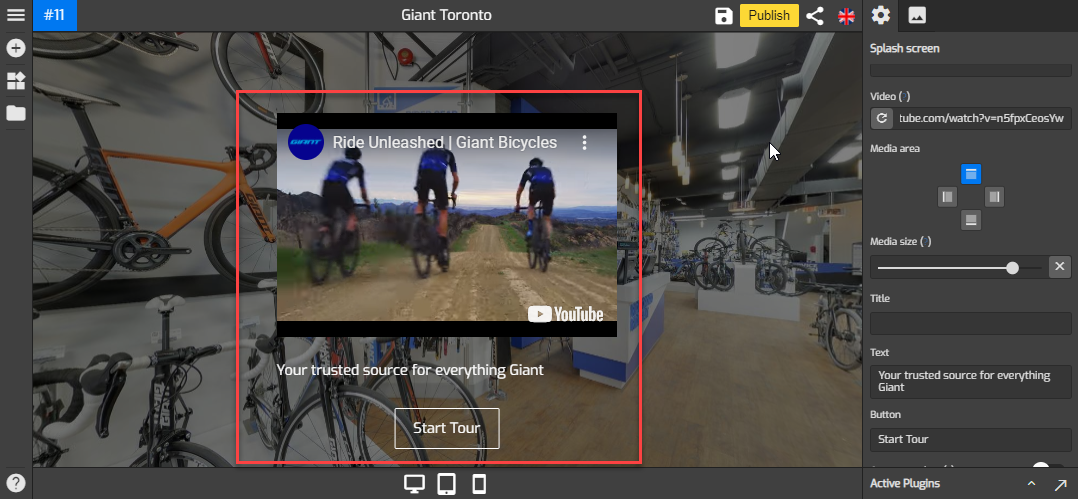
1. Click on the “+” icon (A key) to open the Plugin Manager for Hotspots, Menus, Maps, Control Center, and Other. Select Splash Screen under the Other plugin option.

2. Under the splash screen settings, add more visuals to the splash screen using the splash screen media that will be displayed at the center of the Overlay. You can select the media type for the splash screen, an image or a video. In the following example, the video media and text are used.
3. Now you can try the combo together to see if the autoplay backsound and splash screen media are set up properly.
Step 3: Save & Publish
Finally click the save and publish button on the top-right corner to apply the audio to the tour.

