This article will be looking at the steps of how to add a custom button to the control bar that allows you to connect the control bar to your business webpage.
Please follow the following steps.
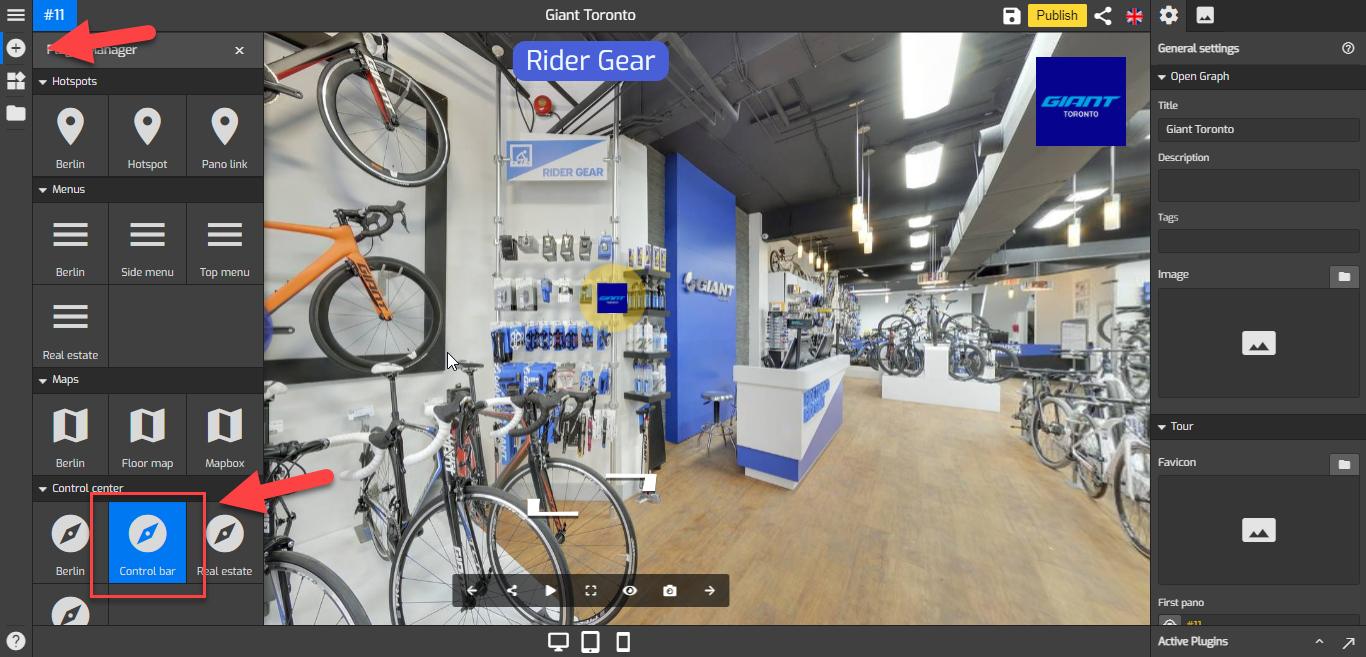
1. Click on the “+” button to open the Plugin Manager for Hotspots, Menus, Maps, Control Center, and Other. Then select Control Bar.
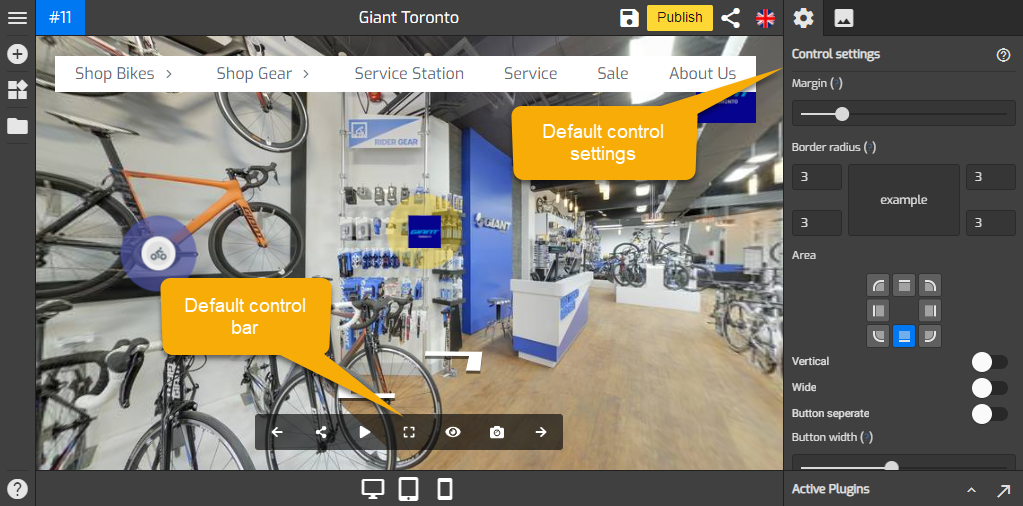
2. Go to Control Settings on the right panel (Plugin Manager > Control Bar) or via Active Plugin (Active Plugins > Control Bar).
3. Navigate to the button section under the control settings.
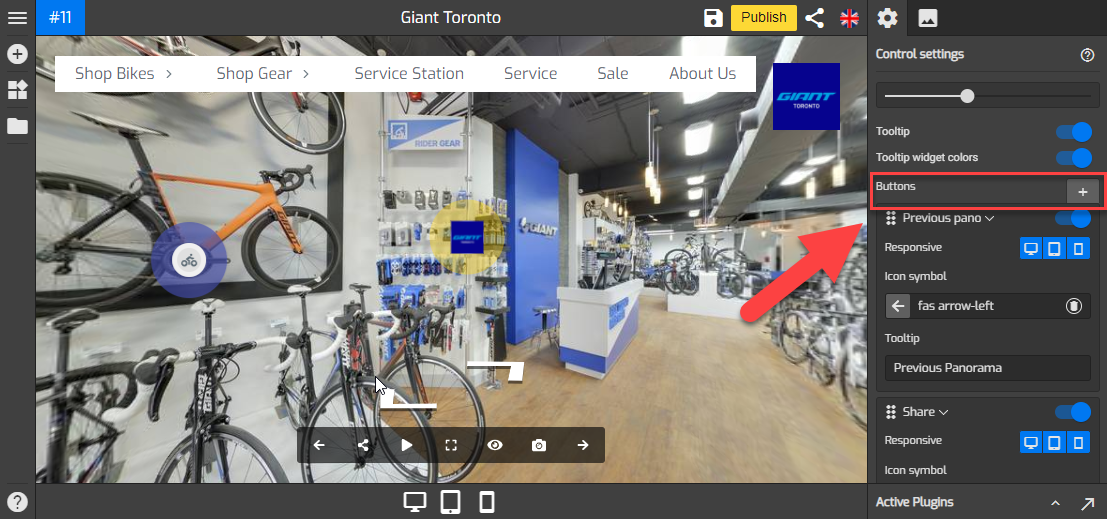
4. On the button section, press the `+` button to add a new custom button.

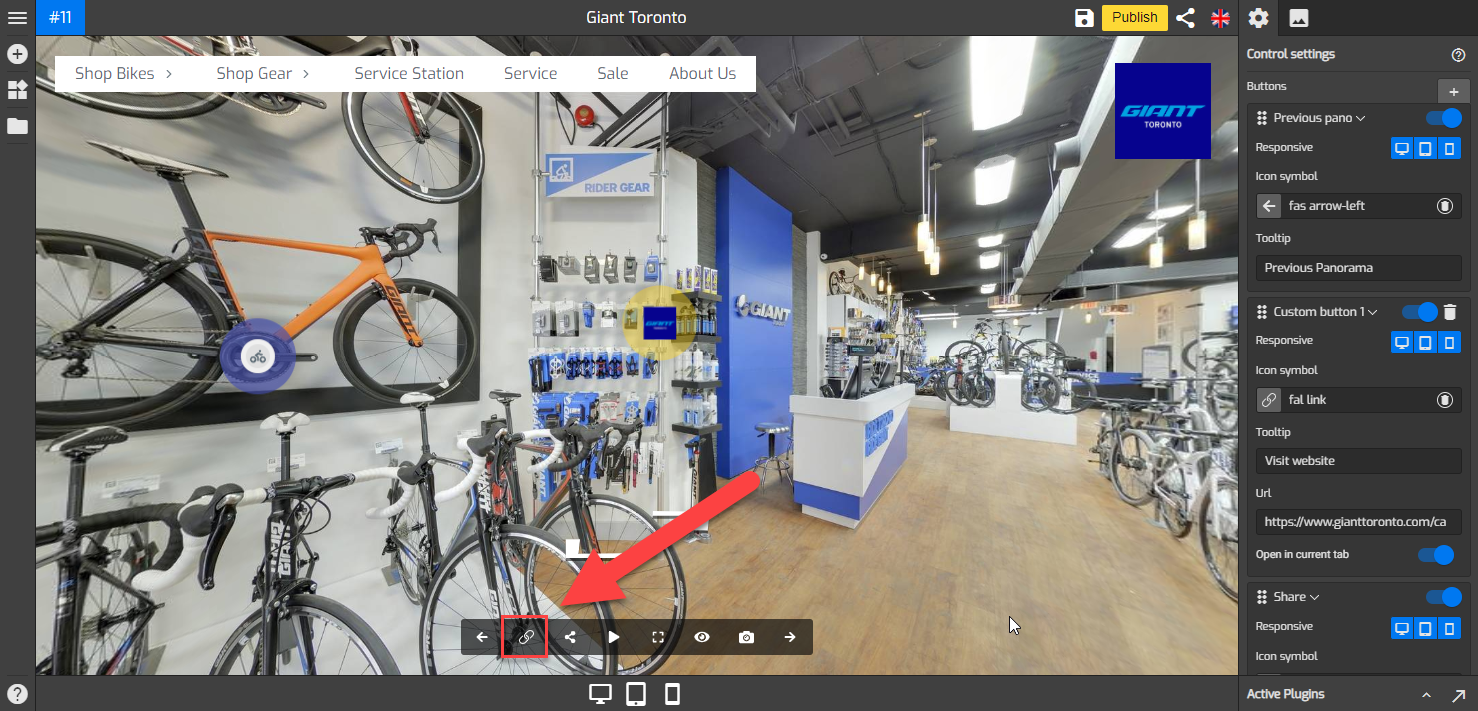
5. The new custom button section will be open with its settings where you can change the responsive, icon, tooltip, and URL.
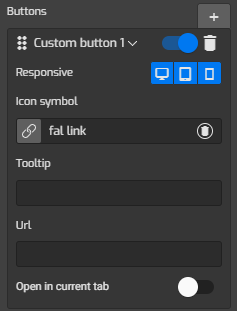
6. Firstly you can enable or disable the buttons for desktop, tablet, or mobile devices using the “Responsive” push buttons.

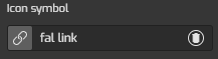
7. Click on the “Icon symbol” to change the button`s icon. There are more than 3000 icon symbols available, you can simply search and select the best icon that fits your control bar.
8. Enter the text for the tooltip using the text field as shown in the example.

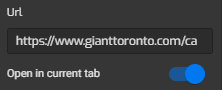
9. Enter your business URL to connect the button and redirect the tour visitors to your business website as the following example shows. The website can be set to open in the current tab or a new window by switching the toggle.
10. To adjust the position of the new button on the control bar, you can drag it using the dragging tool like this example.

11. To apply the new button to the control bar just click “Save” and “Publish” at the top-right corner and see the results.